
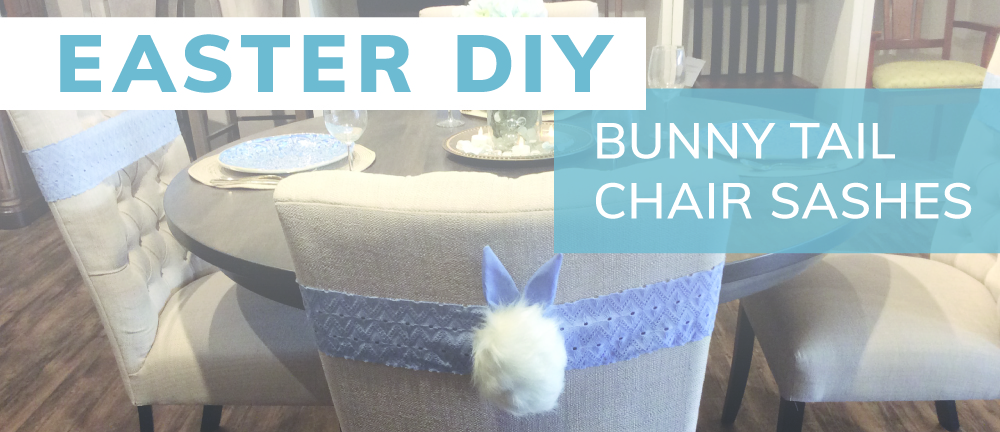
Easter DIY: Bunny Tail Chair Sashes
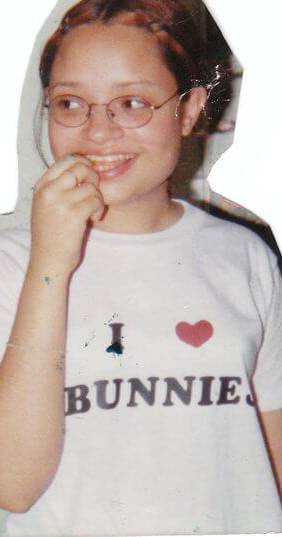
I love bunnies. Here’s the proof:
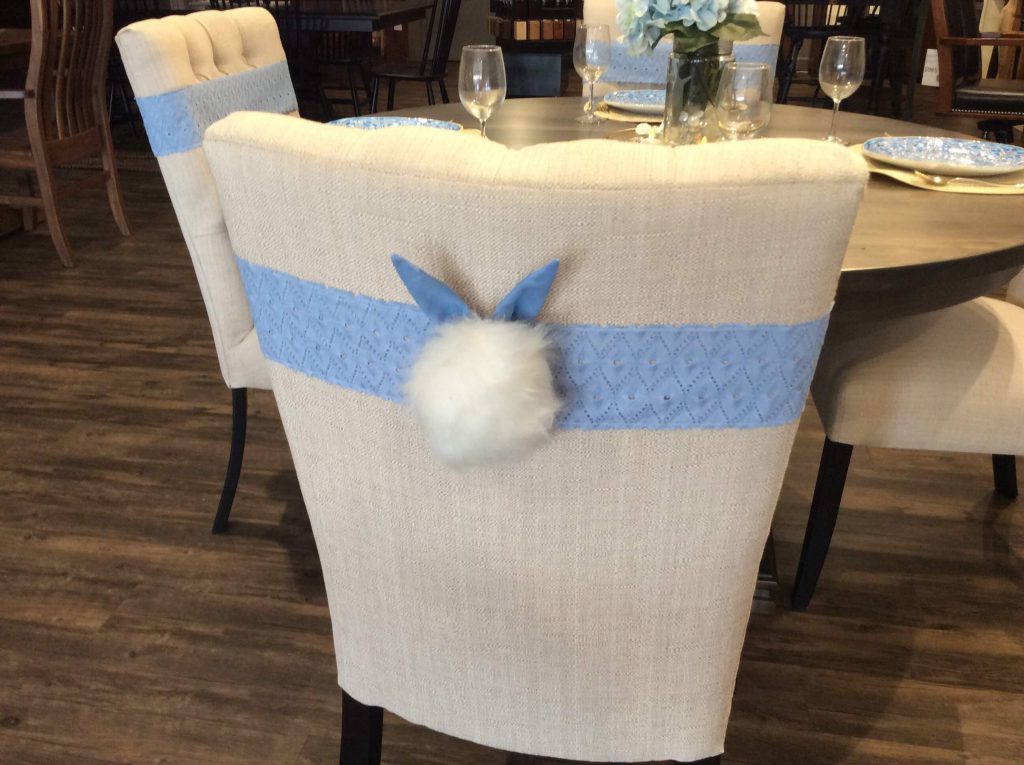
So, on a recent trip to Pier One, I fell in love with this Bunny Cottontail Chair Decor.
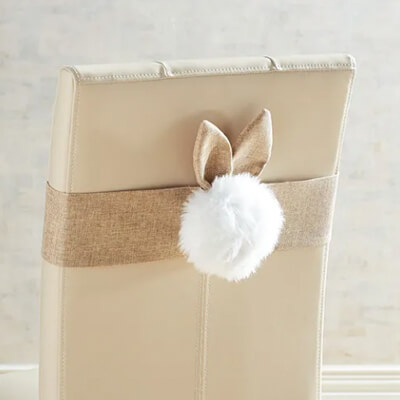
Although they were fairly inexpensive and are now on sale, the first thought that popped into my head was “Ooooooooh, I could make that!”
If you’re thinking, “Yeah, but they’re on sale right now,” hear me out.
If you craft these bunny tail chair sashes yourself:
1) You will get to enjoy the (proven) relaxing benefits of crafting.
2) You can customize them to your liking (color(s), fabric, size, etc.) to match your Easter table setting.
3) You can make them adjustable to fit your chairs or anything else that you would like to use them on as an accent.
4) When people comment on how adorable they are, you get to say, “I made them.”
OK, if you’re still with me, let’s get crafting.
Bunny Tail Chair Sash Tutorial
Supplies:
Note: I’m providing you with the list of items I used. Since these are customizable, your list may differ. In the steps portion of this tutorial, I tried to list other items you can use and different ways to make the sashes. I recommend reading through each step for ideas of different ways to create
this project before purchasing anything.
Fabric
-Faux fur (I was able to make four l’il cottontails out of about 1/4 yard of fabric.)
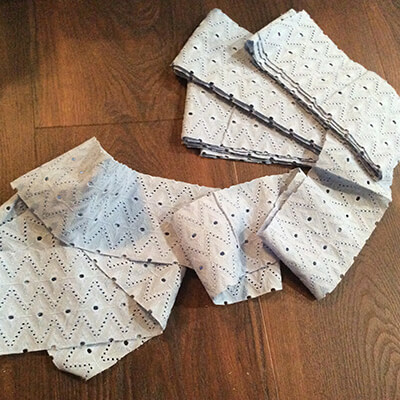
– Your choice of sash fabric or ribbon ( I purchased one yard of a lovely blue cotton eyelet and still had a little over 1/2 yard left after cutting out four sashes.)
-Your choice of fabric for ears (Again, I purchased too much fabric, if there is such a thing. A 1/2 yard was more than plenty for eight ears).
-Batting or any other material you have on hand to stuff the cottontails.
Sewing Accessories
-Fabric Scissors
-Sewing Needle
-Thread (it can match the color of your fabrics, but doesn’t have to).
-Velcro
-Sewing machine or hot glue gun (I used a sewing machine to sew the ears and “serge” the ends of my fabric so it doesn’t fray, but you could accomplish the majority of this project with a hot glue gun.)
-Fabric chalk, marker, or pencil (to make fur circles and/or mark your fabric).
-Measuring tape or cutting mat (optional).
Other
-Bowl or plate (to trace the circles that will turn into your bunny tails).
–A pet bunny to love and care for (according to my boyfriend, this is very optional).
Steps:
1) Cut your sash fabric to the width and length you want. If you’re using ribbon that is the width you want, only cut for the length if necessary.
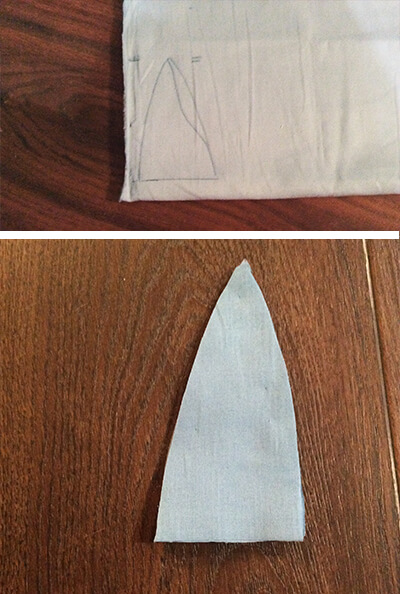
2) With fur side facing down use a bowl or plate to trace the circles that will become the cottontails.

3) Draw directly onto the fabric you are using for the bunny ears or create a template that you can trace around onto your fabric. Cut out two ears per chair.
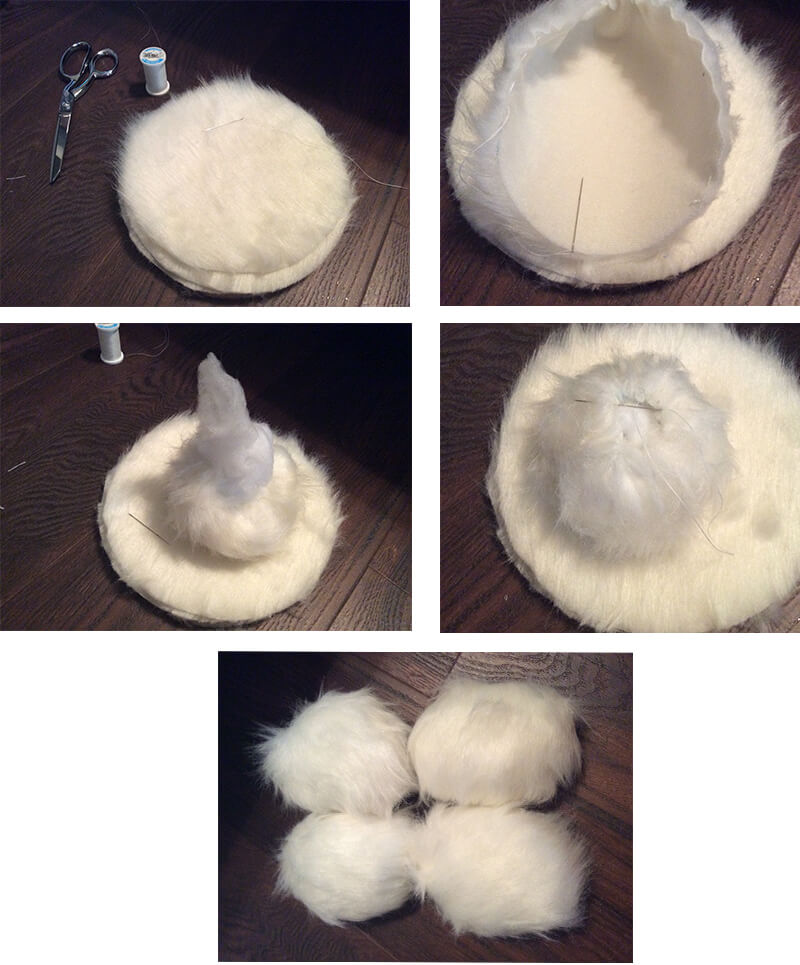
4a) Grab a fur circle, double thread a hand sewing needle, and sew around the edge of the circle, pulling your thread tight as you sew to create puckered edges that face inwards. Eventually, a dome-like circle with an opening will form. Leave your needle and thread hanging off the fur circle as you proceed to the next part of this step.
4b) Stuff the circle with batting or whatever material you have on hand that makes good stuffing.
4c) Once you’re happy with the look of your cottontail, sew the opening as closed as possible by sewing from one side of the opening to the other.
Repeat these steps until you have completed all of your cottontails.
5) Sash time. For this step, I sewed close to the edges of my sash fabric to prevent the fabric from fraying too much. Depending on your skill level, what you want the sash to look like, or what fabric or ribbon you’re using, you could serge the edges, form seams using glue, or not care if your edges fray. You can also fold your sash fabric in half, sew or glue the edges together and then turn it inside out to form a center seam that will be hidden from view.
At this point, if you don’t want your sash to be adjustable with buttons or velcro, you can sew elastic or glue elastic to your sashes to allow them to easily slide on and off your chairs. If you do choose this option, sew or glue together the ends of your sash. Note: I have never glued on elastic, so I can’t attest to the sturdiness of this alternative.
Another option is to tie them to your chairs with a bow thus saving you from having to worry about closures for adjustability. If you choose this option, make sure that your sash length is long enough to tie a bow.
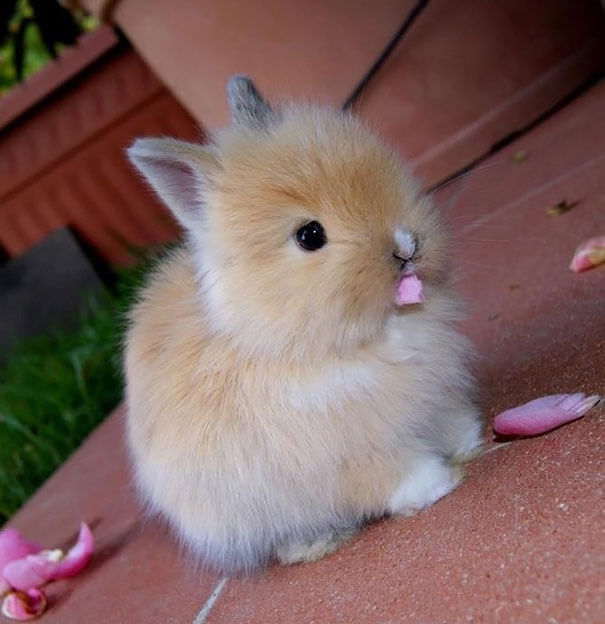
I forgot to take a photo of my sash edges sewed, so here’s a picture of a really cute bunny eating flowers.
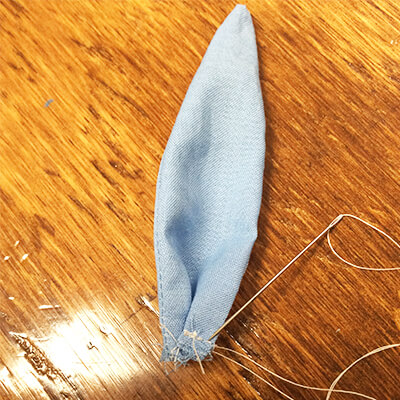
6) Ear time. I sewed my ears wrong sides facing out using my sewing machine, flipped them to right sides out, and sewed the opening at the bottom closed to help with fraying. Just like step 5, step 6 can be accomplished in a variety of ways — from serging the two edges to together, to gluing them together, to adding wire to the ears to make them bendable. Whatever method you decide to use, create all of your ears during this step.
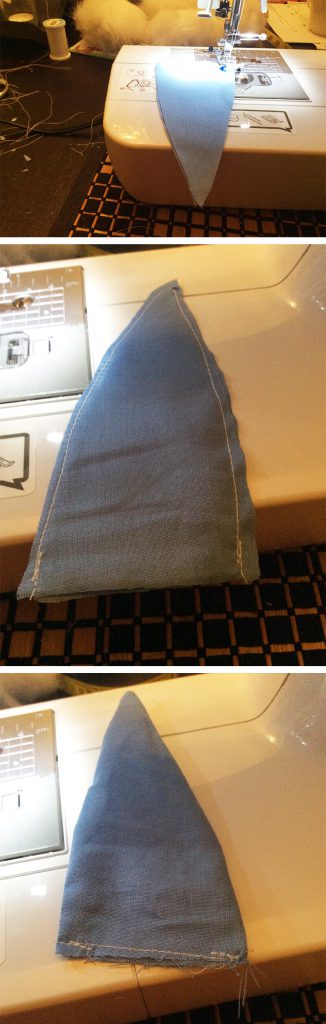
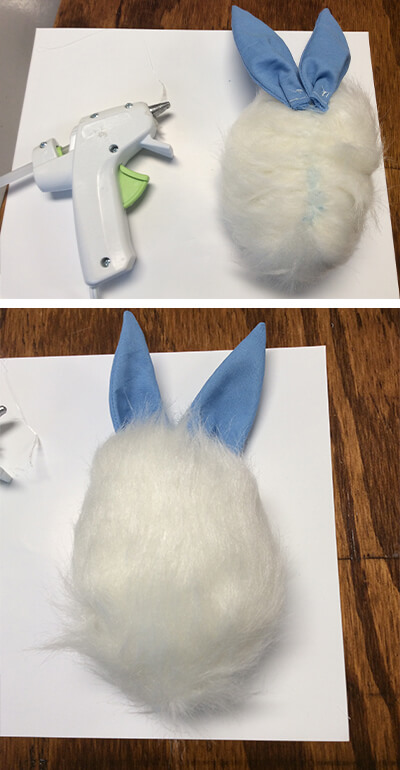
7) Bring the bottom corners of your ears together to give them some dimension and tack them.
8) Glue, sew, or whatever method you feel comfortable using, the front bottom of two ears onto the seam side of your cottontail. Repeat this step until you have done this to all of your tails.
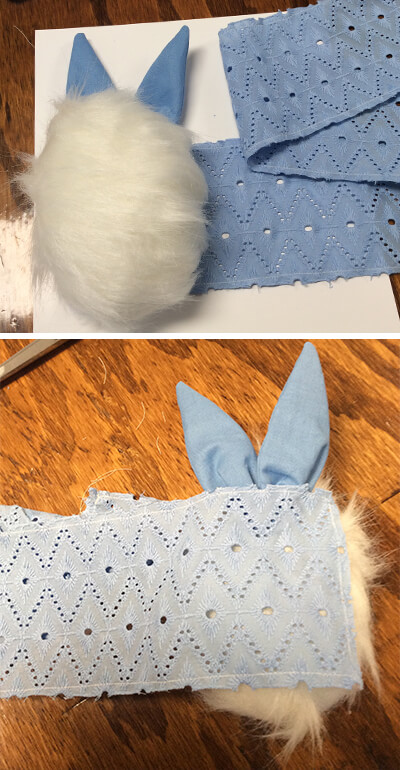
9) Glue or sew the seam side of a cottontail onto the edge of a sash (or wherever it will allow the bunny tails to rest centered on the backs of your chairs. Note: After attaching a bunny tail with ears to a sash, this is a good time to check your measurements before adding closures by testing it on a chair.
Repeat this step until all cottontails have been joined with their respective sashes.
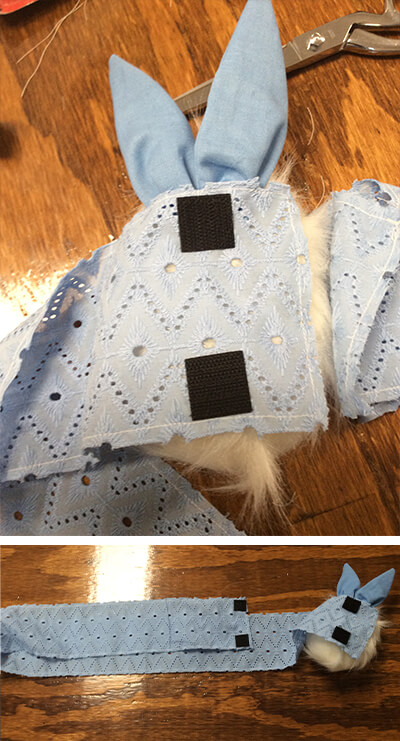
10) Closure time. If you added elastic to your sashes or are tying them with bows, you’re done. Everyone else, you’re almost done! It’s up to you what you want to use as closures — snaps, hooks and eyes, buttons (which will require buttonholes ::shivers in fear::), velcro, magnets, or anything else you can think of. If you want them to be adjustable, add multiple closures as you see fit (making sure that at least one of your closures will allow your sashes to fit perfectly around your chairs or whatever you are using these on as an accent).
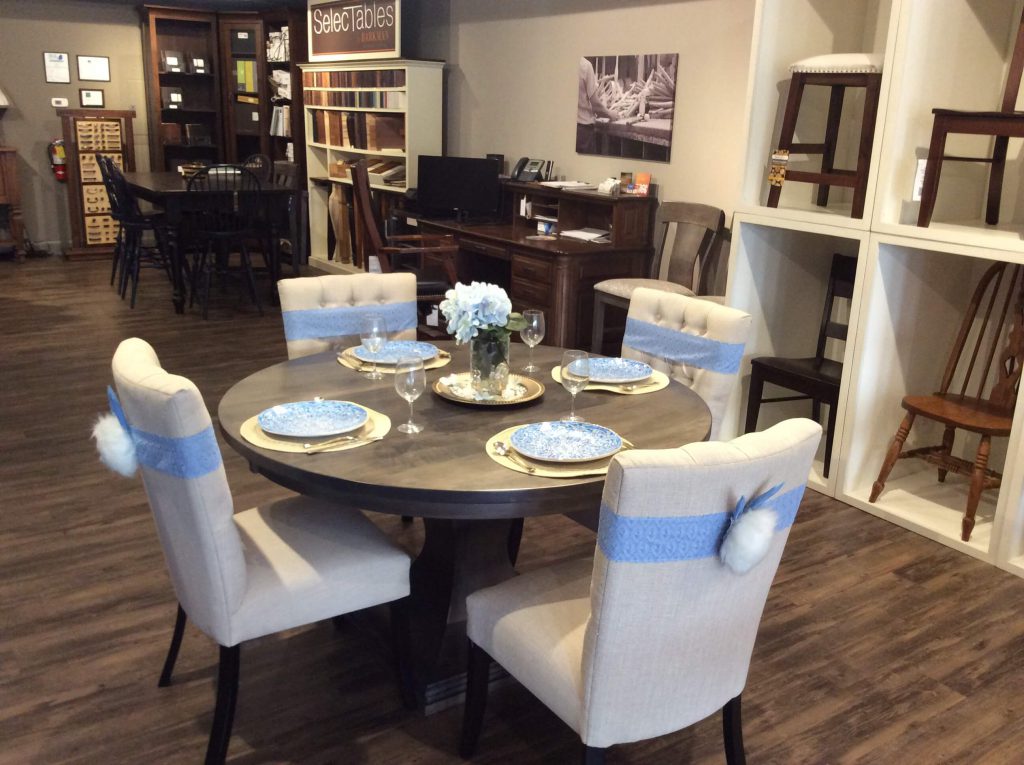
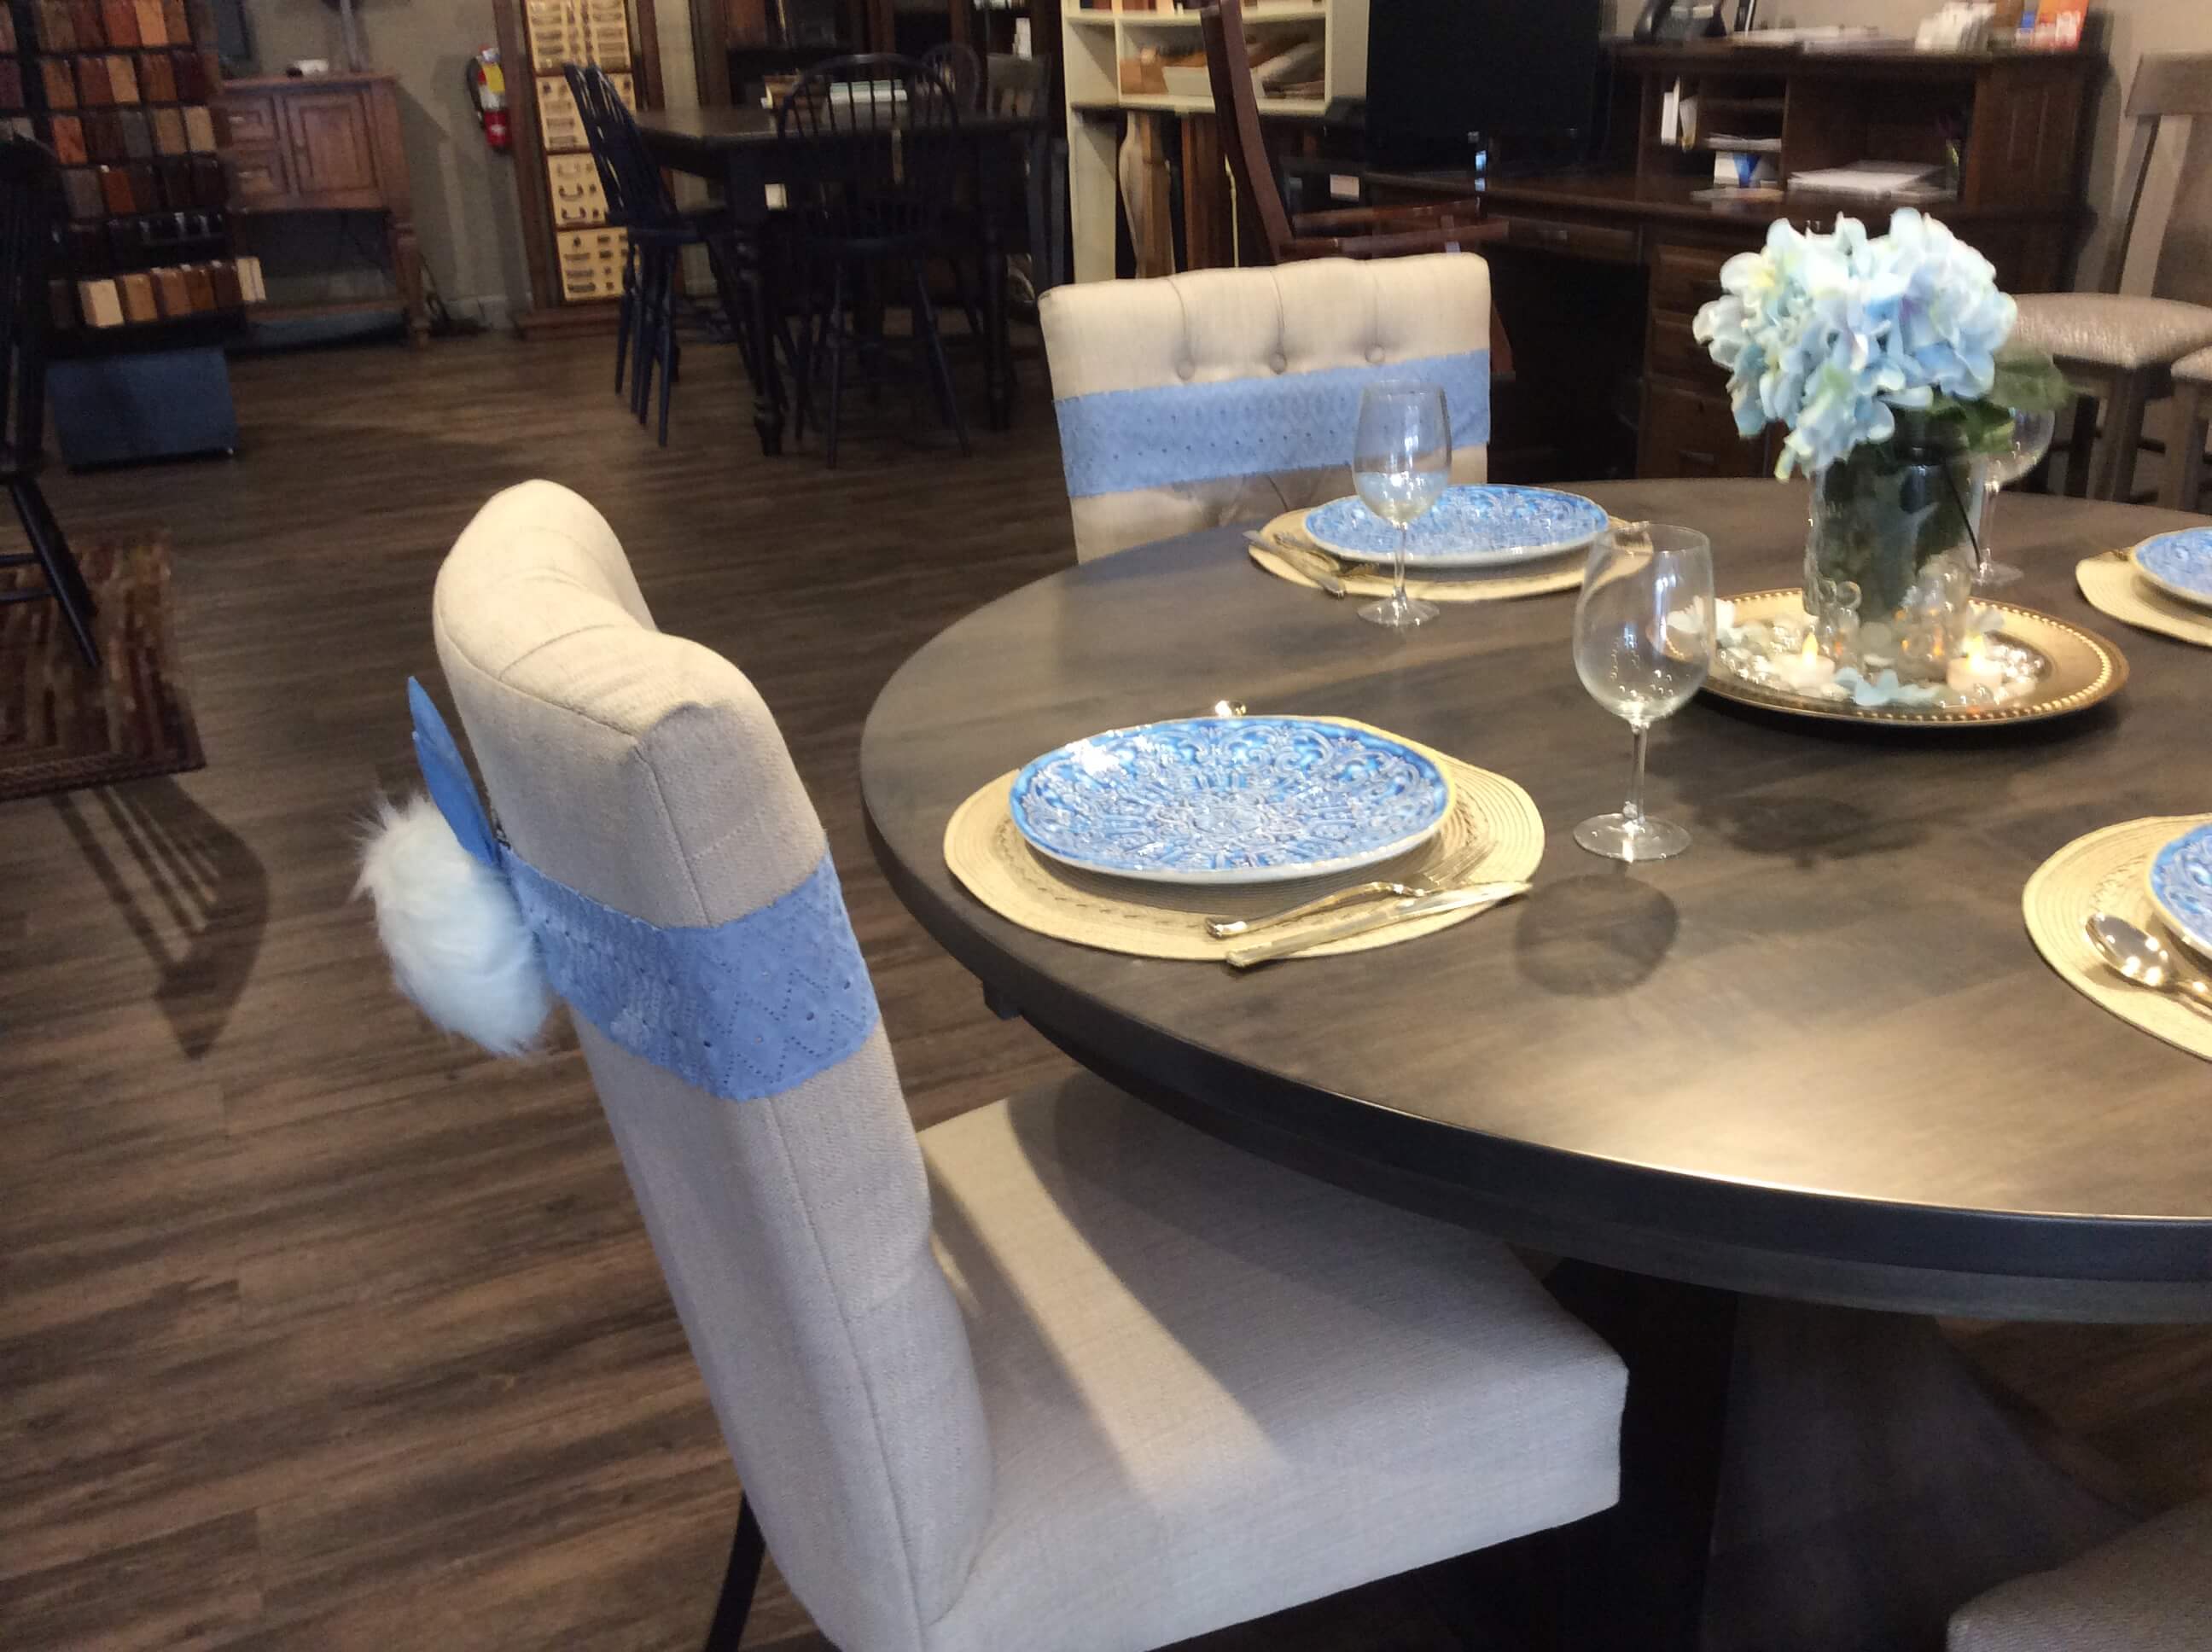
End Result:
Here are a few photos of the bunny tails I made wrapped around our Alana Parsons Dining Chairs in our Sarasota showroom with our Westin Pedestal Table dressed up for Easter.
Comments, questions, concerns, or tips? Please leave them in the comments below.
Thanks for reading, and Happy Easter!
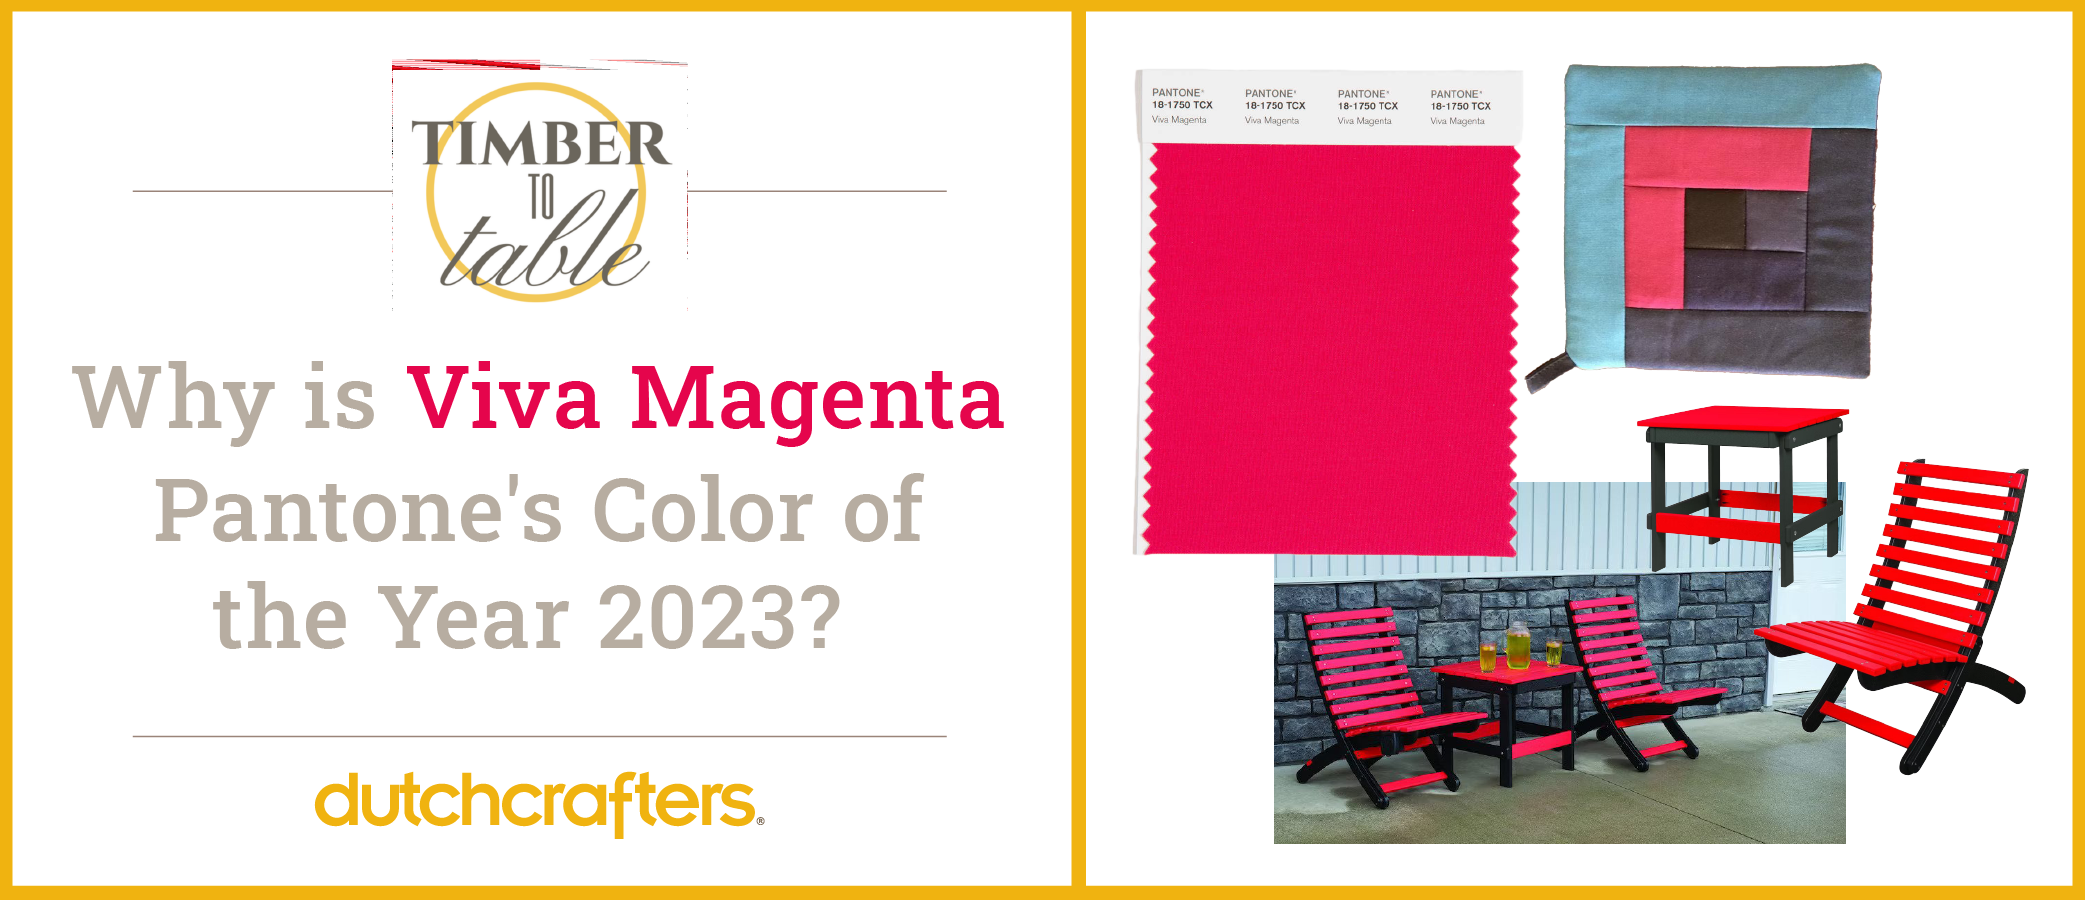
The Pantone Color Institute has been selecting a Pantone Color of the Year since 2000. Pantone began this practice to Read more
Every year furniture trends and fresh ideas for interior design emerge. We love seeing new furniture designs coming from our Read more
One popular design trend this year involves getting creative with lighting fixtures that enhance décor and make a statement. How Read more
Cottagecore has amassed quite a following. Loved for its natural style and feel-good practices, the cottagecore culture embodies rustic design, Read more