
 Samples
Is it Hard to Assemble a Gazebo Kit?
Assembling and installing a DIY gazebo kit can be accomplished with the help of a friend or two and moderate skills. This guide will help you decide if you can handle the job or if you need to hire some help.
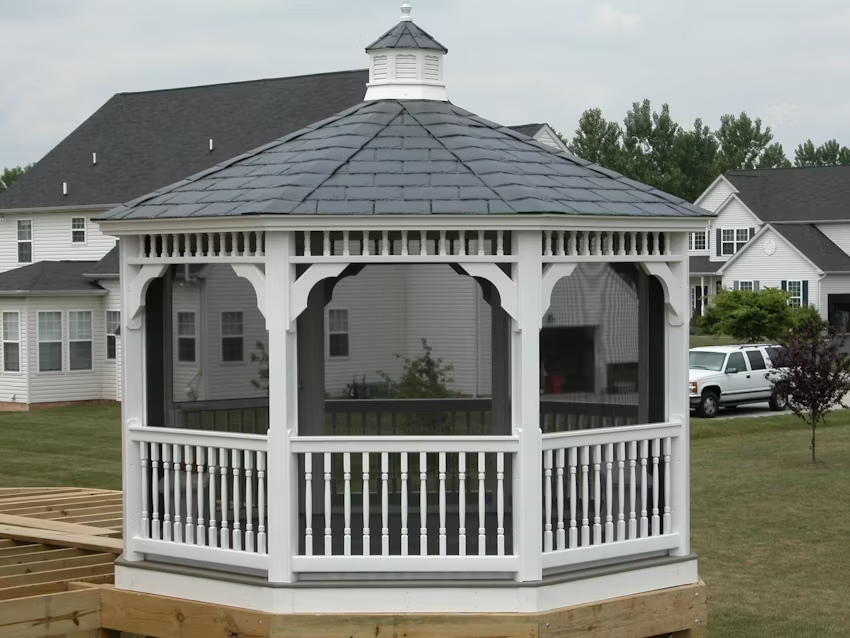
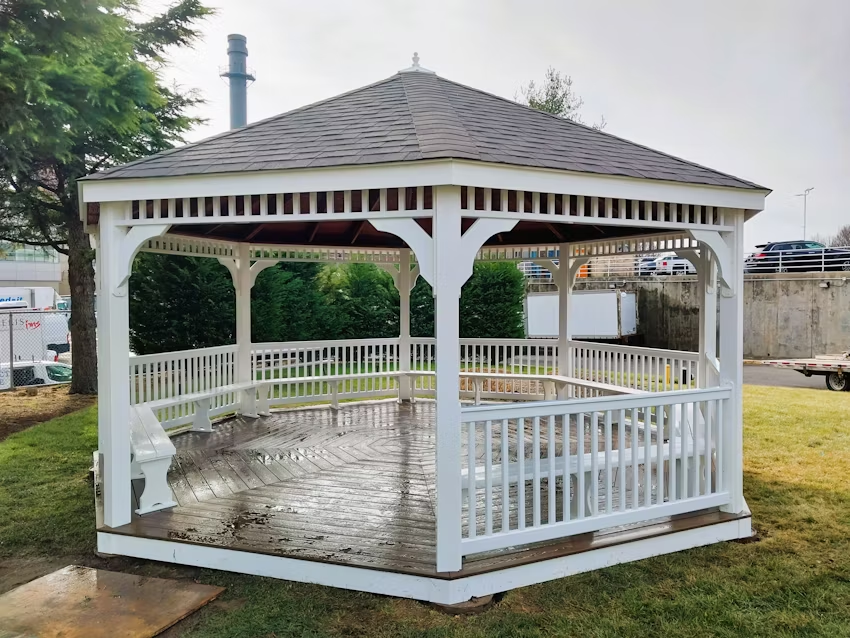
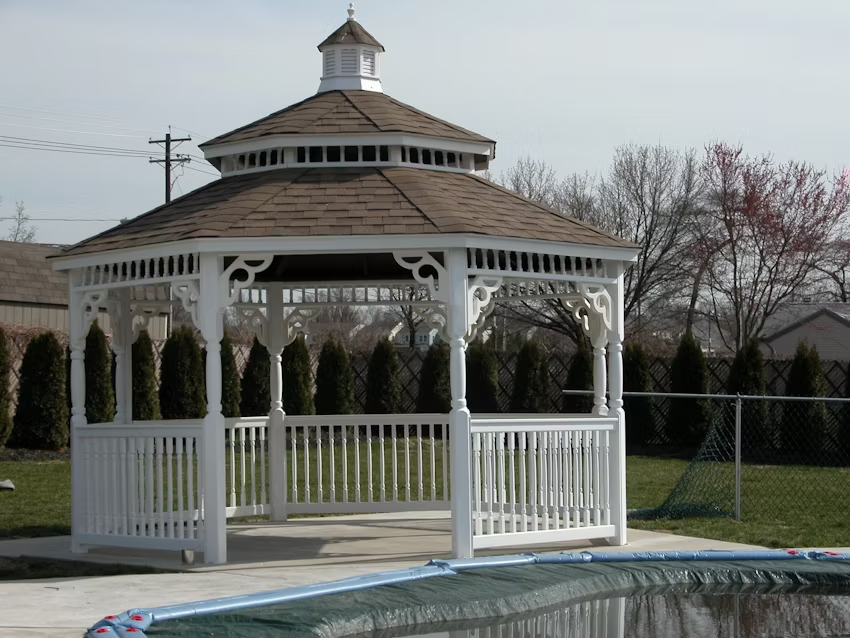
Take your outdoor living space to the next level with an Amish-made DIY gazebo kit from DutchCrafters Amish Furniture. A gazebo enhances the atmosphere and will help your family and your guests relax in your yard. Premium gazebo kits are made for easy assembly for those of you who are DIYers.
If you are not a DIYer, you can always hire a contractor to do the work for you! For those of you who are thinking about buying an Amish gazebo but aren’t sure how much work will go into assembling it, this guide will walk you through the steps to safely and securely assemble an Amish gazebo.
*Always check the enclosed assembly instructions for your specific gazebo kits once you order. This guide is simply intended to give you an idea of what to expect!
7 Steps to Installing a DIY Gazebo Kit
Step 1: Preparation
Make sure you have a level surface area in a spot you love for your gazebo. You need to know if you plan on anchoring your gazebo to a concrete pad or installing it on a deck. You can also install the gazebo on an existing concrete foundation. You’ll need to verify there is adequate drainage.
How to pick the perfect spot for your gazebo?
- Find Level Ground: Make sure you have a level, flat surface for proper stability and drainage.
- Easy Access: You don’t want the gazebo too far from the house. You want to keep it convenient for bathroom breaks and bringing supplies like drinks and food.
- Consider the Sun: Consider how the sun hits certain areas of your yard and how that might affect your gazebo experience.
- How’s the View? How much privacy do you want from your gazebo? Can neighbors see you? Are you okay with that? What exactly are you going to be doing in your gazebo that you would worry about such a thing? Also, consider the view you want from your gazebo. What would you like to see? The kids’ swingset? Your birdhouses in the garden? Maybe you are the one who wants to be able to see in your neighbors’ windows.
- How’s the Weather?: If certain spots in your yard will protect your gazebo kit from the elements, it’s always a good idea to reduce exposure as much as possible.
- Avoid Overhead Obstacles: Placing your gazebo directly under trees is not advisable. Tree limbs fall and cause roof damage. If your gazebo is installed too close to trees, the roots can grow into the structure and cause damage from below. Also, you need to ensure there are no power lines in the way or directly over your gazebo. Power lines can put you at risk for electrical shock, falling debris, or lightning strikes, and it looks bad. It may also violate local building codes.
Check Local Building Codes Before Installing DIY Gazebo Kit
First, you need to check and see if a permit is required before you install your gazebo. Check with the local building or zoning department of your county government or local municipality. Make sure you adhere to every protocol they have listed regarding placement, anchoring, etc.
Gather Your Tools
Your Amish Gazebo Kit will come with detailed assembly instructions. The model you choose will have a list of tools you will need before you begin. Expect to need basic tools such as hammers, screwdrivers, power drills, a level, a ladder, and a tape measure. You might also want a 2×4 handy to assist in holding the roof sections up while you install them.
Unpack and Inspect the Gazebo Kit to Make Sure Everything is There!
Nobody wants it to happen, but now and then you might purchase an item that requires assembly but doesn’t have all the necessary pieces. I think we’ve all been there before. You start a project, get halfway through, and then realize you must stop because a piece in the instructions is missing. I know some men will not want to hear this, but please read the instructions before you begin assembling your gazebo. Report any missing pieces or issues so they can be resolved quickly.
Step 2: Assemble the Floor
If your gazebo includes a floor kit, start with the floor assembly first. Arrange the floor panels on your prepared concrete slab or site.
Use the provided hardware to ensure the structure is square and level. If your kit does not come with pre-drilled holes, drill holes in the appropriate locations.
For Gazebos that do not include floor kits, you will anchor the base directly to the prepared surface (concrete or deck).
Below are examples of different ways your gazebo can be anchored. All of the following images are from our Amish Vinyl Gazebo Kit product page.
Step 3: Install the Posts
Using the brackets and hardware you receive with your kit, attach the corner posts to the floor or base. Make sure the posts are level before fully tightening the fasteners. Now that the posts are up, you can add your support braces to stabilize during the rest of your installation process.
Step 4: Assemble the Gazebo Roof Frame
According to the instructions you will receive with your gazebo kit, connect the roof rafters to form the basic frame of the roof. Attach the center beam to properly align the roof frame. Then, lift and secure the roof frame to the gazebo posts you installed in the previous step. You may need a ladder for this step.
Step 5: Attach Gazebo Roof Panels or Shingles
Depending on your gazebo style, attach roof panels or install shingles as specified. Secure each piece with screws or nails, ensuring there are no gaps or loose sections. Once completed, the underside of our Amish Gazebos shows off the stunning real wooden boards, creating a natural ambiance that is absolutely perfect for relaxing!
Step 6: Add Railings and Decorative Features
Install the railing sections between the posts. Use the pre-drilled holes for precise construction. Attach the decorative lattice panels, decorative trims, or curtains.
Step 7: Secure and Anchor the Gazebo
Use the enclosed anchoring system to secure the gazebo to the ground or base. For high-wind areas, consider additional reinforcements such as hurricane straps or anchor bolts. Make sure you talk to one of our specialists if you are at risk of high winds.
Post-Assembly Tips
Inspect your work to ensure all the hardware is tight and securely fastened. Confirm that your new gazebo is level and everything is lined up properly. Cover any exposed hardware to prevent rust and corrosion and enhance durability.
Apply weatherproofing treatments to seal and protect your gazebo. This is particularly important if you have a wood gazebo.
As with everything, the laws of entropy apply. Make sure you regularly inspect and maintain your gazebo. Keep it clean and make repairs as needed.
How easy is it to install a DIY Gazebo Kit?
Assembling a DIY gazebo kit from DutchCrafters Amish Furniture is an exciting and rewarding project that really improves your outdoor living space.
Once you receive your gazebo kit, the instructions for your exact gazebo will be included. This post was designed as a guide to give you an idea of what to expect when assembling a gazebo kit. Don’t forget, you can always hire a licensed contractor to do the work for you.

This post was originally published on July 25th, 2013. It was updated on January 30th, 2025. If you have spoken Read more
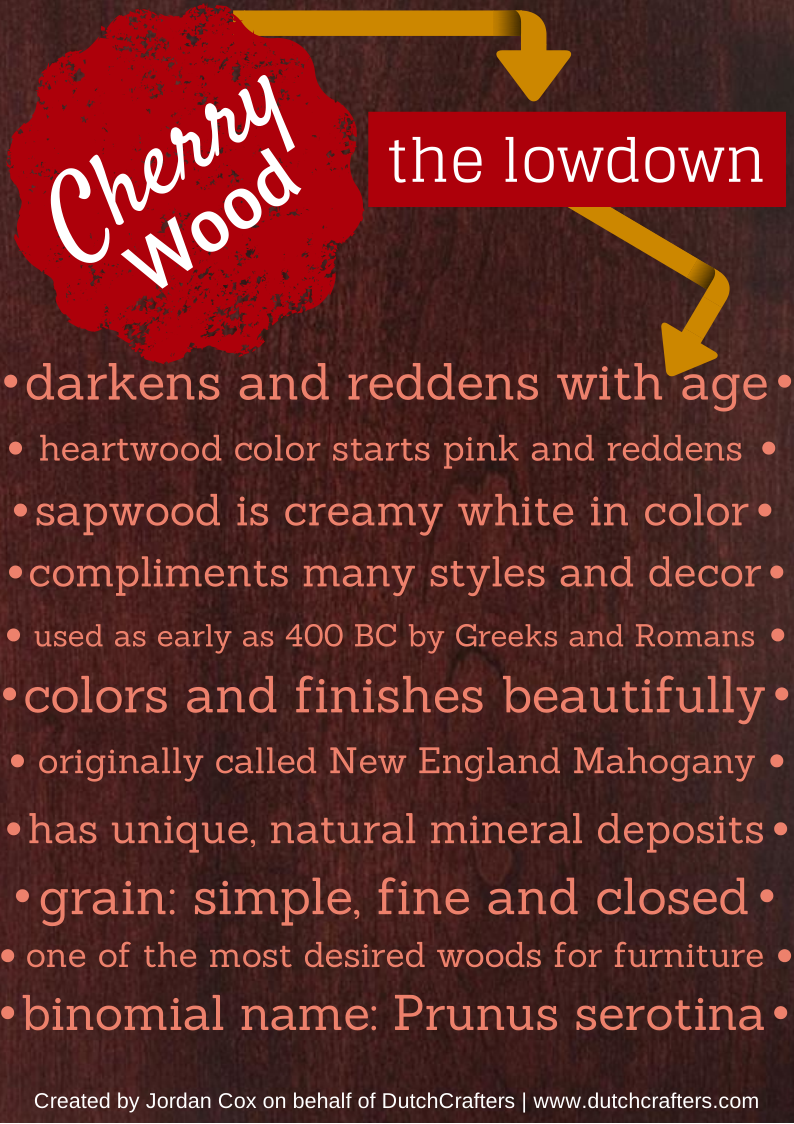
You Put Cherries On Top For A Reason! Why cherry wood? There are so many wood choices, is there really Read more

In which I use far too many italics, and redefine "pudding." I just plain do not understand how this is Read more

This blog post was updated on December 28, 2018 with new entryway table designs. It (almost) goes without saying: Your Read more