
 Samples
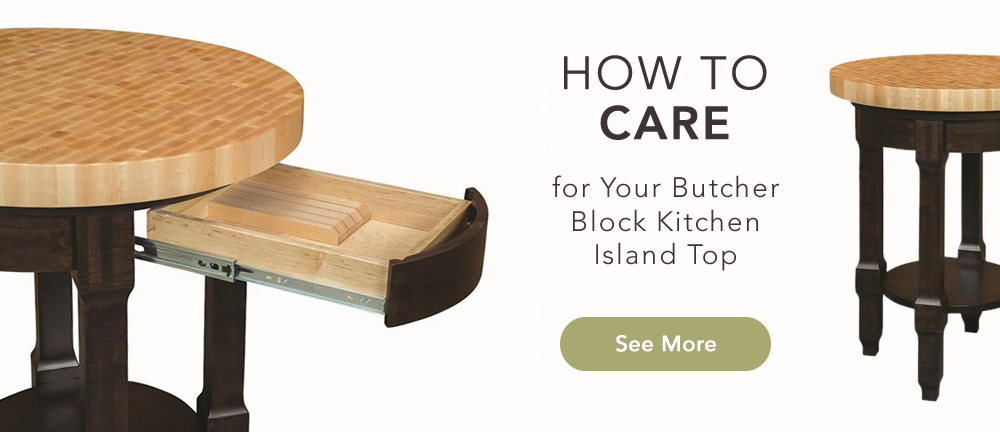
How to Care for Your Butcher Block Kitchen Island Top
How should you care for your butcher block kitchen island top? You’ve added storage in attractive solid wood with plenty of cabinet and drawer space and on top sits a gorgeous butcher block providing the ideal place for chopping, dicing, and slicing.
With knife blades making marks and food leaving stains, it’s important to know how to maintain your butcher block island so it continues to add to the beauty of your kitchen for years to come.
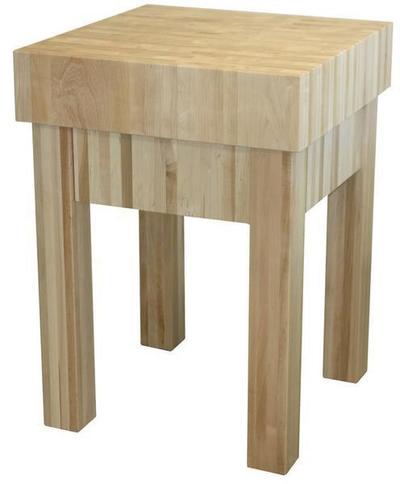
A Butcher Block Kitchen Island from DutchCrafters
Butcher block kitchen islands from the Cabin Creek Collection are built by Amish craftsmen in Ohio. The following procedure is used for the butcher block tops that are often made with hard maple wood.
- Two coats of food grade mineral oil are applied. They are left on the wood for 20 minutes, then the excess is wiped off.
- The butcher block top is lightly buffed or sanded.
- Another two coats of food grade mineral oil are applied, left on for 20 minutes, then the excess is wiped off.
How to Clean a Butcher Block
Butcher blocks are thick and sturdy and they can absorb germs, so it’s important to clean and maintain them. One of the best safeguards against germ and residue build up is to keep up with your butcher block, cleaning it every time you use it.
You can use dough scrapers or a spatula, to remove any stuck on food. They are safe to use. Just be careful and scrape slowly and gently so as not to mark the wood. Scrape the butcher block regularly, as in every time you use it, to remove food debris. Then you can scrub it with a mild dish soap and dry it with a towel. Keeping up with cleaning it each time you use it will lengthen its life span. Keeping a spray bottle full of undiluted white vinegar provides a good disinfectant that’s free of chemicals. Just spray it on and wipe if off with a paper towel or cloth.
What to Do for Stains
Foods are full of juices and colors that can lead to stains on your butcher block top. To battle stains, try using table salt and lemon. Sprinkle the salt on the stain and use half a lemon to rub it in. Let it sit for a bit and then clean the salt and lemon off with a damp sponge.
Another remedy is baking soda. Cover the stain with baking soda, let it sit for a few minutes and then clean it off with a damp cloth.
What about tough stains?
If you have a stain that can withstand the salt or baking soda, you can sand out the stain using fine grit sandpaper. Then you would have to reapply finishing oil after sanding. Maintaining your butcher block with oil is necessary from time to time, and if you find you need to sand out a stain, you’ll want to oil after that process too. Wipe off the dust with a damp rag after sanding and get ready to apply the finishing oil.
What’s A Safe Butcher Block Oil?
Since your butcher block top is involved in prepping the food you’ll consume, you’ll want to use a food safe finish. A food safe mineral oil is the right oil for your butcher block island. It’s non toxic, colorless, odorless and flavorless and stops water from absorbing or releasing. Be sure to look for food grade mineral oil. It does wear down over time and will need to be reapplied.
Do not use vegetable, olive or canola oils to maintain your butcher block. They will spoil eventually and turn rancid, leaving an unpleasant smell.
Maintaining and Oiling Your Butcher Block Wood
First clean the surface of your butcher block by wiping it with a damp cloth.
Use a dough scraper to remove any stuck on food.
If needed, sand out stains and wipe with a clean cloth.
Spread the oil evenly over the top and sides of the butcher block and rub it on with a lint free cloth.
Let the oil absorb. (Anywhere from 10 to 30 minutes—it depends on the size of your kitchen island)
Wipe off the excess oil. If you noticed the oil was absorbed quickly, we recommend you apply another coat.
How often should you oil your butcher block top? Every 4 to 6 weeks is a good rule of thumb. If you notice it is looking or feeling dry, it’s a good idea to go ahead and oil it. It is likely to need more frequent oiling in the winter when the air is drier.
Moisture is a factor to grapple with for butcher blocks. Too much moisture is bad for the block and not enough moisture can dry it out. The oil you apply to maintain your butcher block acts as a barrier for moisture.
A Note About End Grain Butcher Blocks
An end grain butcher block has the hardwood put together with the ends in a vertical orientation. This makes them gentler for receiving knife blades. End grain blocks allow more “give” for the knife versus edge grain blocks that the knife just cuts against. It’s even more important to keep up with oiling and maintaining an end grain butcher block since the vertical orientation lets the oil evaporate more easily. An end grain block lasts long and wears well.
If your butcher block island is purely for decorative use and you won’t be preparing any food on it, you can consider having it stained or varnished. Then there’s no need to oil it.
DutchCrafters kitchen islands come with butcher block top options. Contact us with any questions about adding a new butcher block kitchen island to your home.

This post was originally published on July 25th, 2013. It was updated on January 30th, 2025. If you have spoken Read more
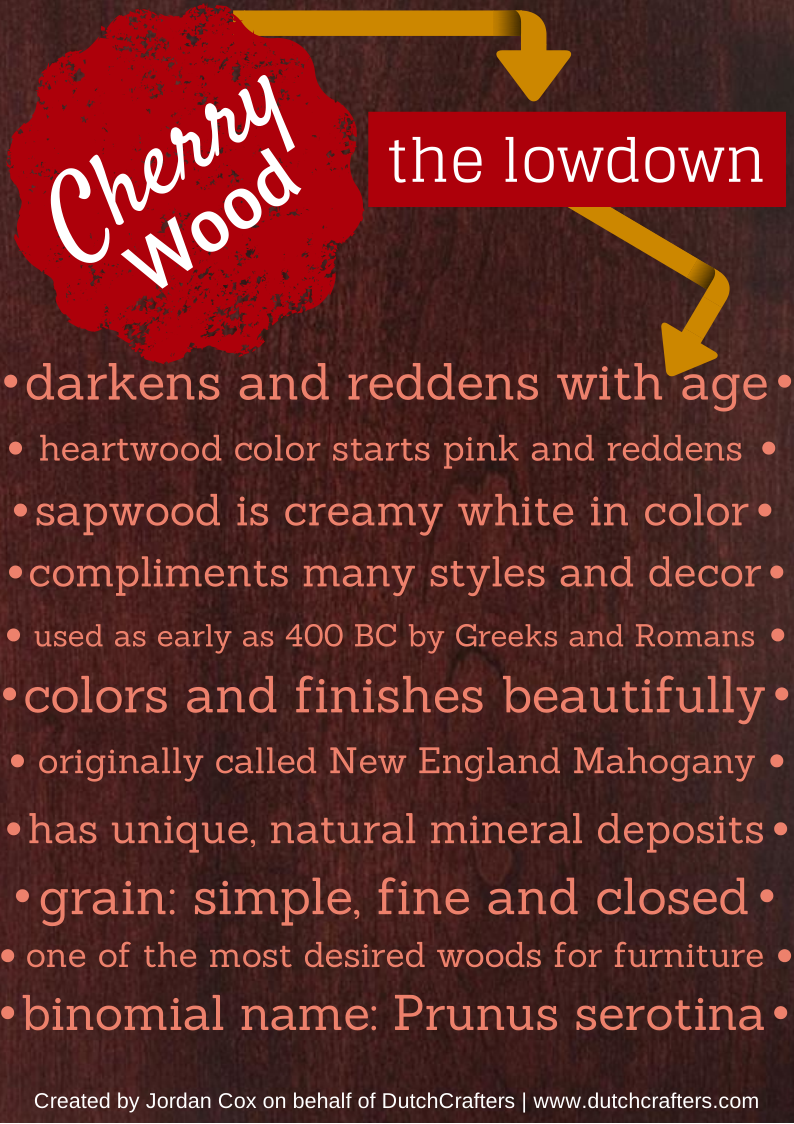
You Put Cherries On Top For A Reason! Why cherry wood? There are so many wood choices, is there really Read more
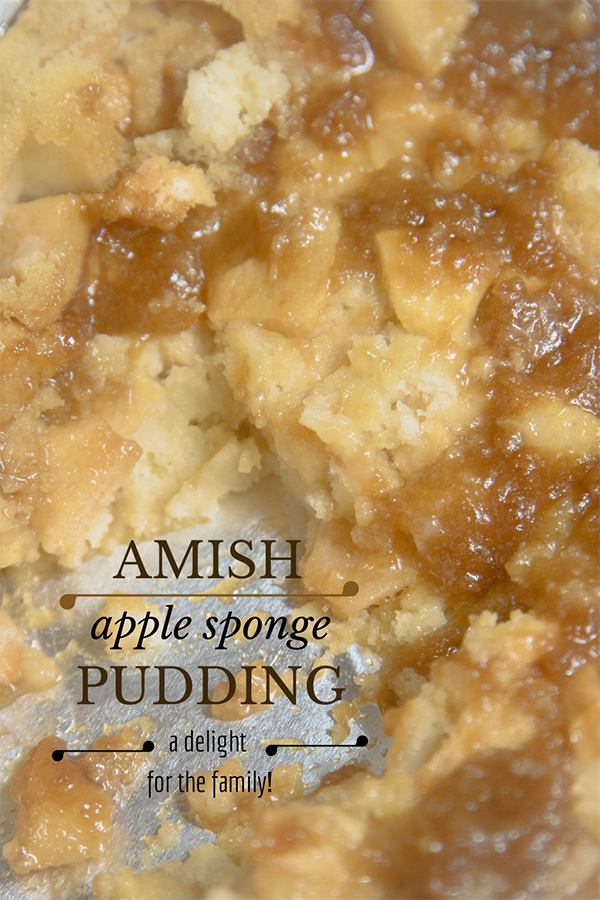
In which I use far too many italics, and redefine "pudding." I just plain do not understand how this is Read more

This blog post was updated on December 28, 2018 with new entryway table designs. It (almost) goes without saying: Your Read more