
 Samples
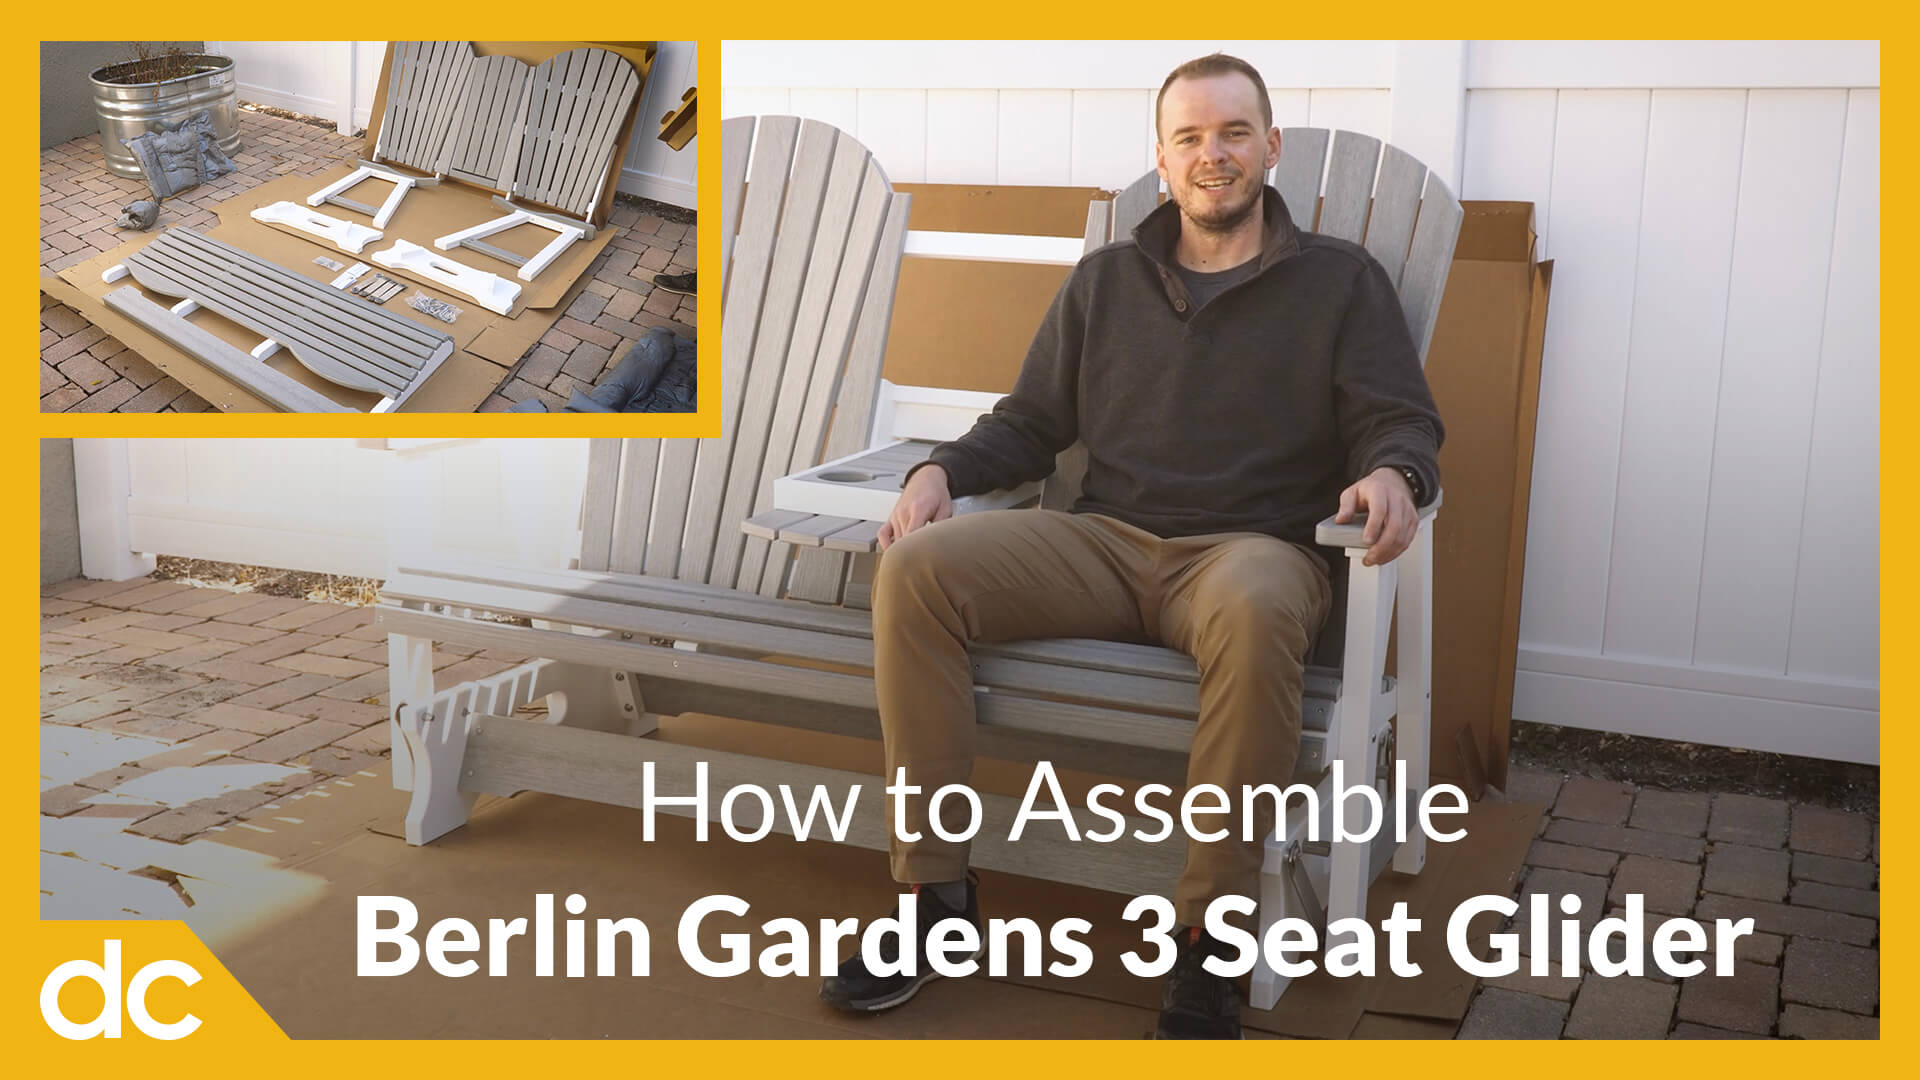


Interested in ordering poly furniture? Curious how much assembly is required? Watch now to see the assembly process for one of the more detailed poly products we offer at dutchcrafters.com, the Berlin Gardens Comfo-back Three Seat Glider with Console.
Berlin Gardens Three-Seat Glider Assembly Process
Your Glider will come with printed assembly instructions, but here are the basic steps.
Hardware included:
- 8 – 5/16″ x 2″ Bolts
- 8 – 5/16″ x 2 1/2″ Bolts
- 2 – 1/4″ x 4 1/2″ Bolts
- 2 – 1/4″ x 3 1/2″ Bolts
- 8 – 1/4″ x 3″ Bolts
- 12 – 5/16″ Flange Nuts
- 8 – 5/16″ Lock Nuts
- 4 – 5/16″ Cap Nuts
- 4 – 5/16″ Aluminum Spacers
- 12 – 1/4″ Flange Nuts
- 4 – Glider Brackets
Tools Required:
- 7/16″ Wrench
- 1/2″ Wrench
- Hammer
- Allen Wrench (included)
Prep Work
- Open Boxes and Remove Packaging
- Locate assembly instructions and included Allen Wrench
Step 1: Assemble Back & Seat
- Stand back and seat on end.
- A: Then fasten the first Arm & Leg to the Back and Seat using 1/4″ bolts and 1/4″ flange nuts.
- B: Insert 5/16″ x 2 1/2″ bolts into holes at the bottom of the legs.
- C: Fasten back to seat using 1/4″ x 3″ bolts and tighten with 1/4″ flange nuts.
- D: Repeat A&B to attach other Arm & Leg assembly.
- Tighten all bolts in Back, Seat, Arms, and Legs.
Step 2: Assemble Base
- A: Attach the two cross supports to glider bases with 5/16″ x 2″ bolts and 5/16″ flange nuts.
- B: Attach the 4 glider stops using 1/4″ x 3 1/2″ bolts and 1/4″ flange nuts.
Step 3: Install Glider Brackets
- Slide the bracket onto a 5/16″ x 2 1/2″ bolt, followed by a 5/16″ aluminum spacer.
- Insert the bolt into the pre-drilled holes of the glider base.
- Tighten with a 5/16″ lock nut and 5/16″ cap nut.
Step 4: Assemble Seat to Glider Base
- Tilt Seat Back forward and attach back glider brackets to the back legs.
- Attach front legs to glider brackets.
- Tighten using 5/16″ lock nuts.
Now your glider is assembled and ready for use! Enjoy years and years of use with almost no maintenance and great durability! For more poly furniture and outdoor decor, shop DutchCrafters Outdoor Furniture.